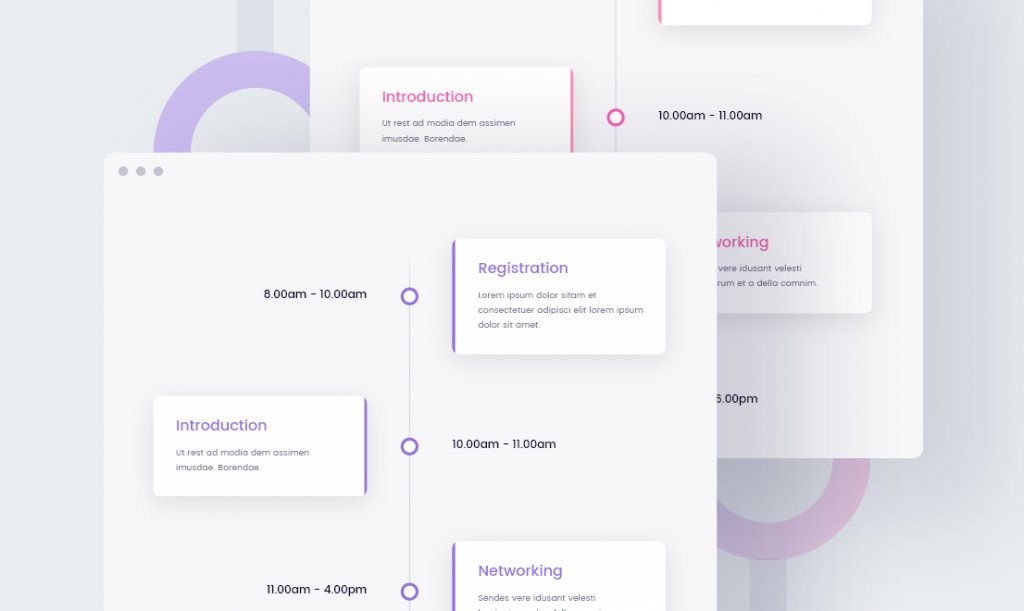
This small guide will explain step by step how to add a vertical timeline element to your website. This element is perfect for conference keynote representation or listing multiple events in chronological order.
Important to note that this timeline block is 100% built for WordPress Gutenberg editor and does not rely on any third party Page Builder.
Step 1: Installing Timeline Plugin
The first step is to install a timeline plugin from WordPress repository. Log in to your WordPress admin then go to Plugins > Add New section and search for Timeline by Kenzap. Click Install and Activate.
Once the plugin is activated you can move to the next step.
Step 2: Adding Timeline to your Website
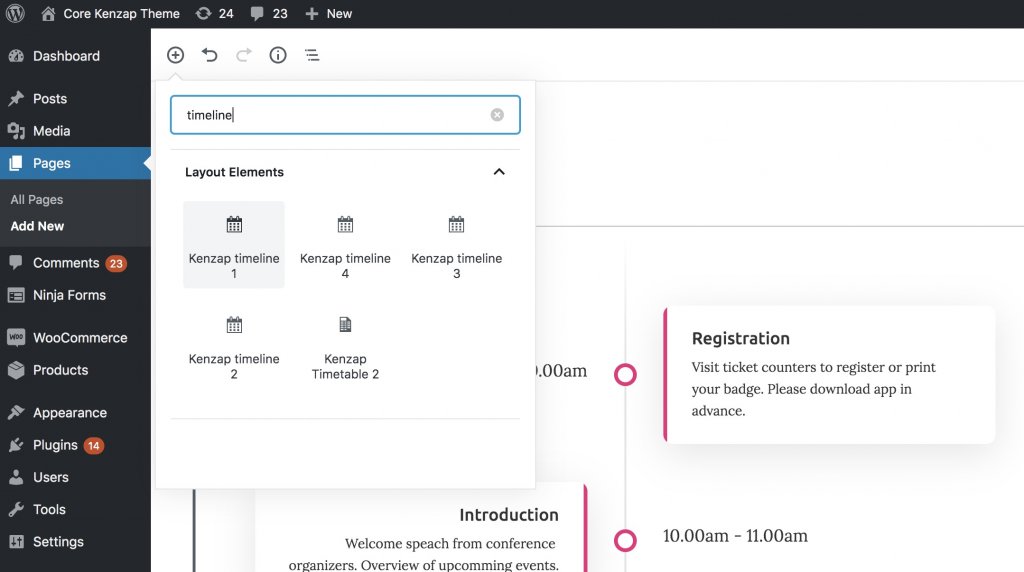
If you have not yet created a page where you want to add your timeline block then go to Pages > Add New section to create new page first and then click on + plus sign in the top left corner of your screen.
In the window that drops down type timeline to search for the desired block and click on the first one from the list. You will immediately see a new block preview with some demo preloaded in it. Continue to the next step to get insights on block customization.

Step 3: Customizing Vertical Timeline
Customization of this block is extremely easy. Simply click on the title, description or time that you would like to modify and replace it with your own content.
Additional settings like featured color, typography or hover animation are available from the pane on the right side. For example, to change the timeline’s featured color navigate to the right page find Colors > Highlight setting and pick your custom color.
Similar customization approach is applicable to other settings that are available under this pane.
Step 4: Publishing Timeline
Once all the customizations are performed your timeline is ready to be published. From the right corner of your screen click on Publish button and then click on View Post to preview the timeline block on your website frontend.