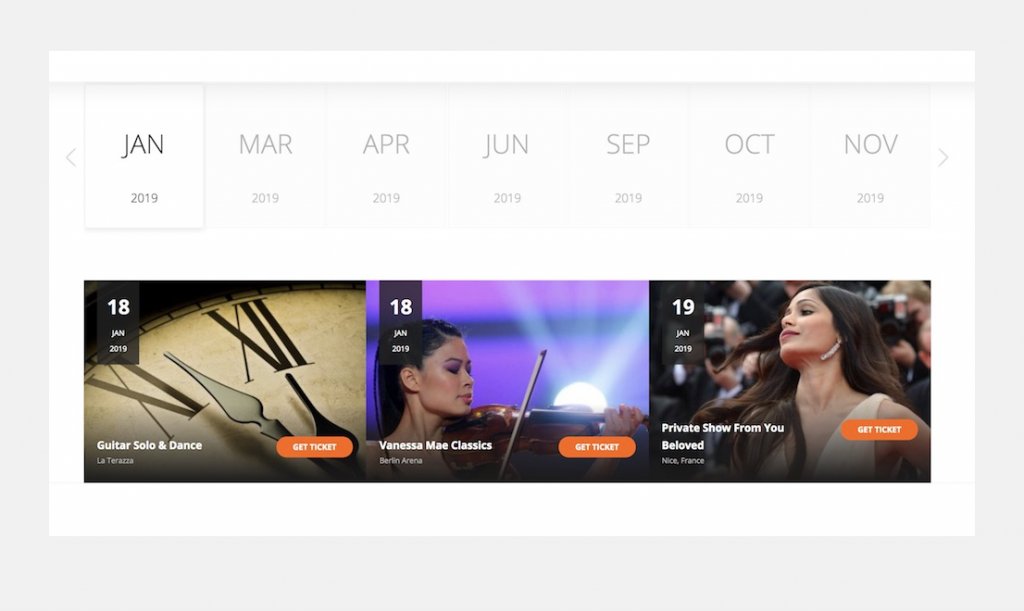
This guide will help you set up event calendar and publish it on your website by using MyTicket Events Plugin. Note that the image above is only one variation example. There are multiple parameters on how you can customize the layout. This includes colors, button shapes, image aspect ratio (horizontal, square, vertical) and other settings.

Below is another example of event calendar that support image grid and less detailed interface preview. Click this live preview to see this element in action.
Step 1: Prepare WordPress Environment
You need to choose your hosting provider and install WordPress there. Or use Kenzap cloud with preinstalled demo content and MyTicket Listing layouts (the easy way, skip step 2).
Step 2: Install MyTicket Events plugin
Once you are done with WordPress installation you need to install MyTicket Events plugin. Make sure to download and activate the plugin.
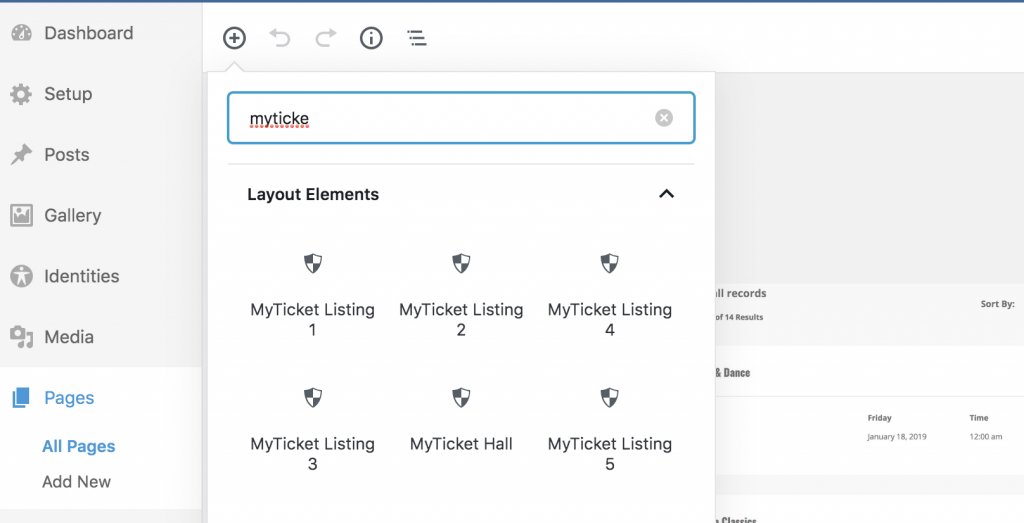
Step 3: Add Event Listing Block to Your Website
Adding these layouts is very simple. Go to Pages section of your WordPress admin then type MyTicket Listing 2 or MyTicket Listing 4 in search for a block window as shown on the image below. The live preview of this element is available here.
Step 4: Customize According to Your Needs
Use pane on the right side while editing the element to preview its customization settings. Adjust colors, spacings, query options according to your needs.
Step 5: Publish the Page
Hit Publish or Update button in the top right corner to preview event listing layout on your website frontend.